How do I pair Connex and QuickBooks Online?
Here are the steps:
- Login to Connex for QuickBooks.
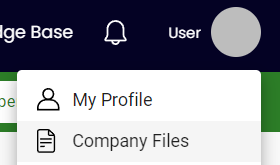
- On the top right, click your name and click company files:
- If there is a company file in the table of company files, click disconnect:
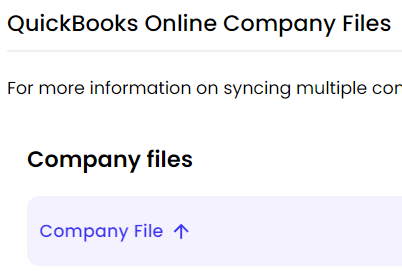
- You will see a green button that asks you to sign into QuickBooks:
 If that button fails to redirect you to Intuit, click here to add the file and sign into QuickBooks Online. You must sign in as a user in the primary or company admin role. Here is a screenshot of a user list from QuickBooks:
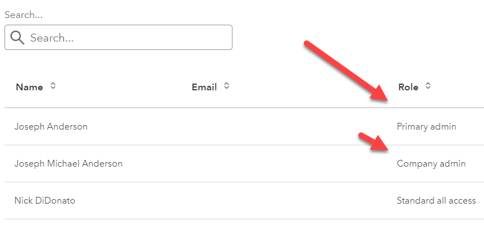
- Choose the proper company file to pair.
Ensure Pairing Successful
Here are the steps:
- You will return to the Connex dashboard.
- On top, click settings.
- On the left, click finance settings.
- The screen will show a loading panel for 5 - 10 seconds.
- Expand the item income account drop down.
- You should see a list of accounts from your QuickBooks. This means pairing was successful.
Tasks
Connex uses a scheduled task system. Ensure all the tasks exist:
- Next, ensure your scheduled tasks are running. On the left, click tasks.
- You should have one task per site. If you have an Amazon and a ShipStation, then you should have two of them. If this is the case, scroll down to resync.
- If no tasks exist or there is an X, then no sync can run.
- Next to each task, click status if the task is inactive:
- If no task exists, choose your connection from the drop down:
- If you sync sales to QuickBooks, order settings > orders to QuickBooks.
- Click save.
- If you sync sales from QuickBooks, click orders from QuickBooks.
- Click save.
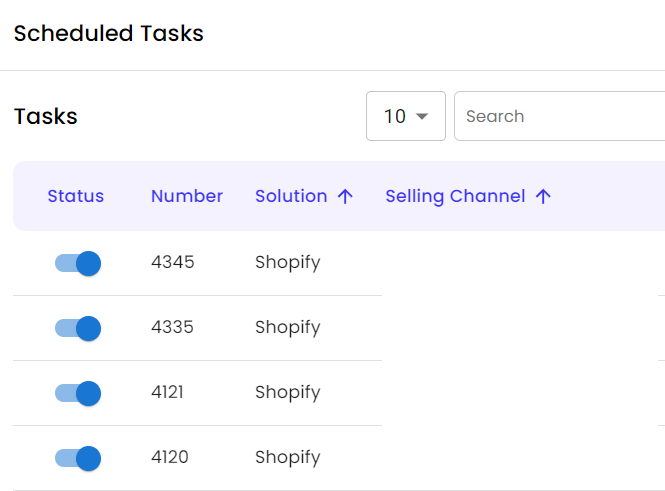
- Click scheduled tasks and you should see some tasks.
Resync
Here are the steps:
- On the left, click dashboard.
- Next to your channel, click manual sync.
- Enter a 24 hour date range.
- Click save.
- Wait for the sync to finish.