How do I change the Shopify location where Connex sends inventory?
Connex uses a default inventory site. You can use our rules engine to override it.
Problem
Your stock updates fail from QuickBooks to Shopify and you get this error in the log:
An item cannot be active at more than one location if one of them is a fulfillment service location.
Description
Shopify supports multi location inventory. Our software sends the Shopify product, its new stock level, and the Shopify location where inventory is located. By default, our software uses the default Shopify location for your store. If you have a fulfillment location, you must override the logic.
Solutions
There are two ways to solve the error. You can map certain products to certain locations or map the QuickBooks inventory site to Shopify.
Add Rule
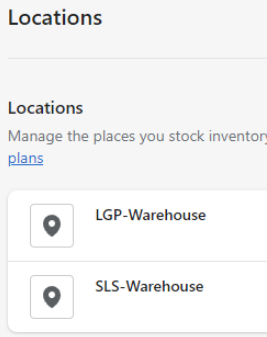
We will say if the product SKU is 2.05.00132, then map LGP-Warehouse as the Shopify product location. Mapping a warehouse like ABC123 will cause the update to fail, since the product is only available at the LGP-Warehouse and the SLS-Warehouse fields.
- In Shopify, open the product.
- Open the locations.
- Note what locations are available. In this case, you can send LGP-Warehouse or SLS-Warehouse:

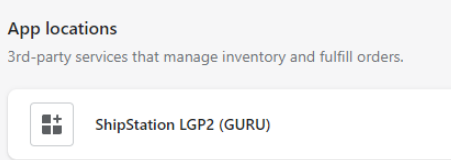
- Please note mapping a location under app will fail. Your inventory location must be available under locations:

- On top of Connex, click rules engine.
- Click add rule.
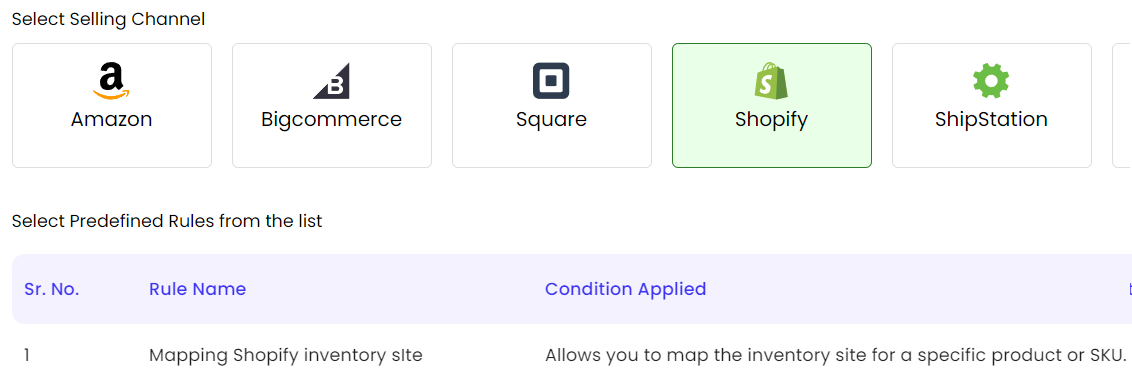
- Choose Shopify from the select selling channel.
- From templates, choose mapping Shopify inventory site and click next:

- Scroll down and edit the rules grid.
- Enter a SKU to use for the rule.
For the rules, what fields can I compare?
Here are the fields:
- Product SKU (QuickBooks item name)
- Product name (QuickBooks sales description)
- Product Warehouse (QuickBooks item inventory site)
You could say if the QuickBooks item inventory site is LGP-Warehouse, then sync the site to the LGP-Warehouse in Shopify.

Enable sync inventory by site
Our tool will map the QuickBooks inventory site location to the Shopify inventory site field. No rules or additional set-up is required. If you have 5 widgets in your Boston site, then Connex will map qty of 10 to Shopify's Boston site. Here is an example of what Connex would send to Shopify:
| Site | Quantity |
| Boston | 10 |
| New York | 5 |
To map inventory by site, follow these steps:
- Login to Connex.
- Click settings.
- Choose Shopify.
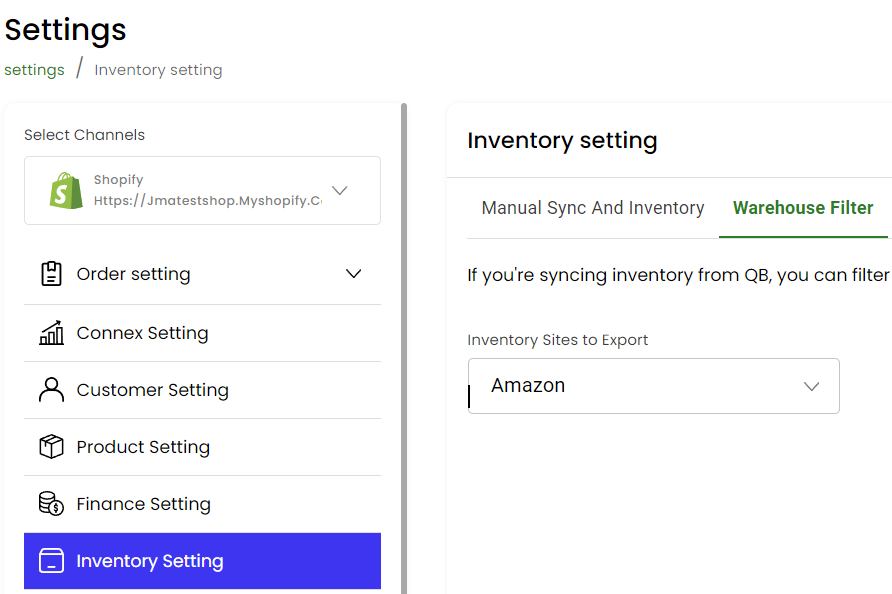
- Click inventory setting.
- Click the warehouse filter:
- Under inventory sites to export, select a list of sites:

- Ensure your QuickBooks inventory site and Shopify inventory site names are a match.
![Connex_Logo_HelpCenter_100h.png]](https://help.connexecommerce.com/hs-fs/hubfs/Connex_Logo_HelpCenter_100h.png?height=50&name=Connex_Logo_HelpCenter_100h.png)